Starting a straw bale garden does not have to be expensive.
That is one of the reasons many people are drawn to the method in the first place. You do not need to build raised beds, haul in garden soil, till the ground, or own a large backyard. The straw bale itself becomes the container and, once properly conditioned, turns into the growing environment for your plants.
But there is a difference between starting cheaply and starting carelessly.
The cheapest way to start straw bale gardening is not to skip important steps. It is to buy only what you truly need, choose the right BaleBuster product for your garden size, and avoid spending money on supplies that do not match the method.
This guide will show you how to start with a simple, affordable setup without making the common beginner mistakes that lead to poor results.
Start With the Right Mindset
The goal is not to buy the least expensive item possible and hope it works.
The goal is to avoid waste.
Many beginners spend more than they need because they buy random fertilizers, unnecessary tools, or products that do not match their number of bales. Others try to save money by skipping conditioning, then end up with weak plants and disappointing results.
Straw bale gardening works because the bale is conditioned before planting. The Straw Bale Gardens education site explains that once the straw inside the bale begins to decay, it becomes conditioned compost that creates an excellent rooting environment. It also says conditioning should begin about two weeks before the target planting date.
So if you want to save money, do not skip the part that makes the method work.
Start small, condition properly, and buy only what matches your setup.
What You Actually Need to Start
You do not need a long list of tools.
For a basic straw bale garden, you need:
- Straw bale or bales
- A BaleBuster conditioning product that matches your bale count
- Water
- A sunny location
- Seedlings or seeds
- Simple hand tools such as gloves and a trowel
- Guidance if you are new to the method
That is enough to begin.
The Straw Bale Gardens site describes straw bale gardening as a form of container gardening where the straw bale itself is the container. Once the straw decomposes, it becomes conditioned and ready for planting.
That is why you do not need to spend money building raised beds or improving poor soil before you start.
The bale does the work, but only after it has been prepared correctly.
The Cheapest Setup: One Bale
If you want the lowest-cost way to test straw bale gardening, start with one bale.
This is the simplest setup. It lets you learn how conditioning works, how often to water, and how plants respond before you expand.
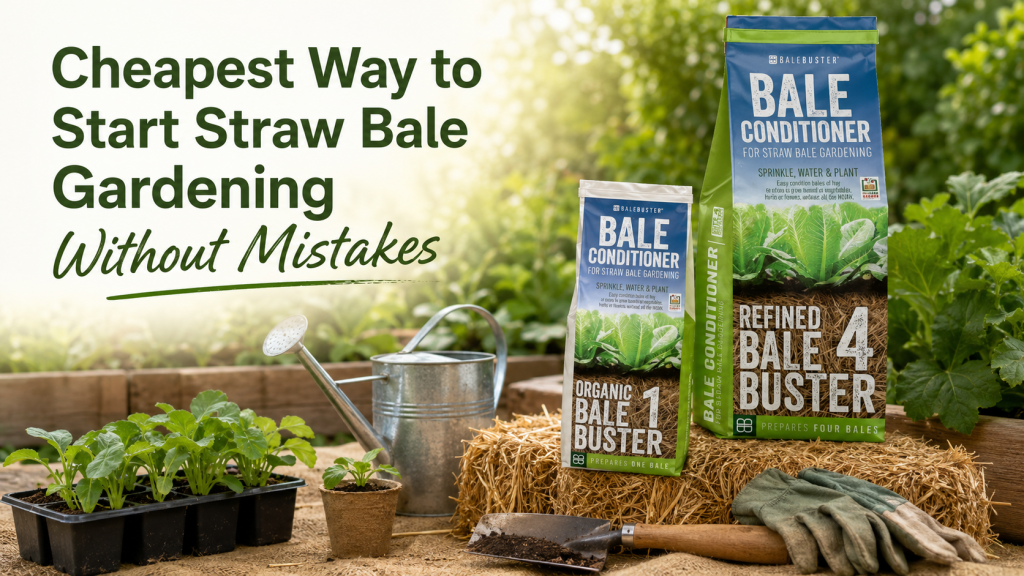
For a one-bale setup, the best product fit is BaleBuster1.
The Straw Bale Garden Shop describes BaleBuster1 as a 100% organic bale conditioning formula packaged in the right quantity for preparing one bale. The product page says the gardener provides the bale of straw or hay and water, and the bales should be positioned in a sunny location. (Straw Bale Garden Shop)
This makes BaleBuster1 a smart choice if you want to test the method without buying a larger package.
Best for:
- First-time gardeners
- One-bale test gardens
- Small patios or balconies
- Gardeners who want an organic formula
- Anyone who wants to learn the method before expanding
This is the cheapest way to begin if your goal is simply to try straw bale gardening.
The Best Value Setup: Four Bales
If you want the best balance between affordability and actual growing space, start with four bales.
One bale is good for testing, but four bales give you more flexibility. You can grow a small mix of vegetables, herbs, or flowers and get a better feel for the method.
For this setup, the best product fit is BaleBuster4.
The shop describes BaleBuster4 as a special formulation for conditioning four average-size bales measuring 36” x 18” x 16”. It is made for preparing bales of straw, hay, or similar bales for growing vegetables, herbs, or flowers.
This is often the better choice for beginners who want a real starter garden instead of just a test.
BaleBuster4 also helps prevent one of the biggest beginner mistakes: buying too little conditioning product and trying to stretch it across too many bales.
Best for:
- Small backyard gardens
- Beginner starter gardens
- Families starting a compact garden
- Gardeners who want more than one bale
- People who want a simple setup without going large
If the goal is to start small but still get meaningful results, BaleBuster4 is usually the best value.
When to Choose BaleBuster20
BaleBuster20 is not the cheapest option for a small garden, but it can be the most practical option for larger setups.
If you are preparing twenty bales, buying a product sized for twenty bales makes more sense than buying several smaller packages.
The shop describes BaleBuster20 as a twenty-bale box with a traditional NPK formulation. It is listed as a 24 lb box and contains spores of Trichoderma Reesei fungi and live bacteria including Bacillus subtilis and Bacillus megaterium. The page also states that the formulation contains traditional nitrogen sources from refined products to feed microbes. (Straw Bale Garden Shop)
For small beginners, BaleBuster20 is likely more than needed.
But for larger gardens, it helps avoid buying many smaller units.
Best for:
- Larger backyard gardens
- Community gardens
- School gardens
- Homestead-style setups
- Gardeners preparing twenty bales
The cheapest option is not always the smallest product. It is the product that best matches your number of bales.
Do Not Save Money by Skipping Conditioning
This is the mistake that causes many beginners to waste money.
It may seem cheaper to buy a bale and plant directly into it, but that is not how the method works.
Fresh straw is not ready to support healthy plant growth. It must begin decomposing before it becomes a suitable growing environment.
The Straw Bale Gardens site explains that the step-by-step conditioning process creates a warm, moist, nutrient-rich rooting environment for young seedlings.
If you skip conditioning, your plants may struggle. You may see slow growth, weak roots, yellow leaves, or poor harvests.
That means the money spent on plants, seeds, and bales may not produce the result you wanted.
Conditioning is not the place to cut corners.
Avoid Buying Random Fertilizers
Another common mistake is buying random fertilizers because they look cheaper.
The problem is that straw bale conditioning is not the same as ordinary garden feeding.
The goal is to feed the microbes inside the bale so they can begin decomposing the straw. The Straw Bale Gardens site explains that the conditioning process builds up bacteria inside the bale until the bacteria colonize the bale and begin digesting the straw, essentially creating soil.
That is why a product designed specifically for straw bale gardening can be more practical than guessing with unrelated fertilizer products.
BaleBuster is positioned by the brand as a conditioning formula made for Straw Bale Gardens. Joel Karsten is described on the site as the pioneer of the Straw Bale Gardens method and the BaleBuster conditioning formula.
If you are trying to start cheaply, the smarter move is not to experiment with several products. It is to buy the correct product for your bale count.
Cheapest Product Path Based on Garden Size
Here is the cleanest way to choose.
| Garden Size | Best Product | Why |
| 1 bale | BaleBuster1 | Packaged for one bale |
| 4 bales | BaleBuster4 | Made for four average-size bales |
| 20 bales | BaleBuster20 | Sized for a larger twenty-bale garden |
| 4 bales plus guidance | BaleBuster4 Starter Kit | Includes BaleBuster4 plus the complete book |
| Learning only | Straw Bale Gardening eBook or book | Helps you understand the method before buying more |
The shop also lists the Straw Bale Gardening eBook by Joel Karsten and the BaleBuster4 Starter Kit with the Straw Bale Gardens Complete book. The eBook was shown on sale at the time of search, and the Starter Kit was listed as a bundle with BaleBuster4 and the book. (Straw Bale Garden Shop)
If someone is brand new and wants to avoid mistakes, the starter kit may save confusion because it combines the product with learning support.
What You Should Not Buy First
If you are trying to keep costs low, avoid buying too many extras before you understand your setup.
You probably do not need:
- Large raised bed materials
- Expensive soil delivery
- Heavy garden equipment
- Too many tools
- A large BaleBuster package if you are only preparing one bale
- Several random fertilizers
- Decorative accessories before the garden is working
Start with the method first.
Bale, conditioning product, water, sunlight, seedlings.
That is the core.
Everything else can come later.
Buy Learning Support Before You Waste Money
Sometimes the cheapest move is to learn first.
If a beginner does not understand conditioning, watering, timing, and planting, they may buy the right products but still use them incorrectly.
The Straw Bale Gardens site points gardeners to Joel’s Straw Bale Gardens book, which explains the exact process for conditioning the garden and harvesting vegetables.
The site also mentions the Straw Bale Garden Club as a place with how-to videos, community support, a forum, resources, and online events.
If you are unsure how the method works, it may be better to buy a guide or starter kit instead of trying to piece together advice from random sources.
That can prevent expensive mistakes.
Cheapest Beginner Setup Recommendation
If you want the lowest-cost test setup:
- 1 straw bale
- BaleBuster1
- Watering can or hose
- One or two seedlings
- Sunny location
This is enough to try the method.
If you want the best beginner value setup:
- 4 straw bales
- BaleBuster4
- Water source
- Seedlings or seeds
- Gloves and hand trowel
- Joel’s book or starter kit if you want guidance
This gives you a more complete garden while still staying manageable.
If you want a larger setup:
- 20 straw bales
- BaleBuster20
- Strong water access
- Clear layout plan
- Joel’s book or Garden Club support
This is not the cheapest beginner option, but it is the better value for a large garden.
Common Budget Mistakes to Avoid
Buying before counting your bales
Always decide your bale count first.
Your bale count determines your BaleBuster product.
Buying too small and stretching the product
If you are conditioning four bales, do not buy for one bale and try to spread it across all four.
That can lead to uneven conditioning.
Buying too large too early
If you only want to test the method, you do not need a twenty-bale product.
Skipping the learning step
A guide, book, or membership can save money by helping you avoid mistakes.
Planting before the bale is ready
The education site says conditioning is essential and should begin before the target planting date. Planting too early can waste seedlings and time.
How to Start Cheaply Without Reducing Your Results
The best low-cost approach is:
Start with the smallest setup that matches your real goal.
If you only want to test, start with one bale.
but if you want a useful starter garden, start with four bales.
If you already know you want a large garden, buy the product sized for that scale.
Do not skip conditioning.
Don’t buy random supplies.
Do not buy based only on the lowest price.
Buy based on the number of bales you are preparing.
That is how you start affordably without setting yourself up for failure.
Final Thoughts
The cheapest way to start straw bale gardening is to keep the setup simple and avoid waste.
For one bale, choose BaleBuster1.
If for a small starter garden, choose BaleBuster4.
but for a larger twenty-bale setup, choose BaleBuster20.
If you need guidance, consider Joel’s book, the eBook, or the BaleBuster4 Starter Kit.
Straw bale gardening does not require perfect soil, heavy equipment, or a large garden space. But it does require proper conditioning.
Start small.
Buy the right product for your bale count.
Follow the method.
That is the best way to save money and still give your garden a strong beginning.
Start With the Right Size
Before buying, count your bales first.
Then choose the BaleBuster product that matches your setup.
A one-bale garden needs a one-bale product. A four-bale garden needs a four-bale product. A twenty-bale garden needs a twenty-bale product.
That is the simplest and most affordable way to start straw bale gardening without mistakes.