Starting a straw bale garden is one of the simplest ways to grow your own food without dealing with poor soil, heavy digging, or complicated setups.
But if you’re just getting started, it’s easy to overthink it.
Do you need a lot of tools?
Special soil?
Expensive equipment?
The truth is, you need far less than you think.
In this guide, we’ll break down exactly what you need to start a straw bale garden — no fluff, no confusion, just the essentials that actually matter.
Why Straw Bale Gardening Is So Simple
One of the biggest reasons people choose straw bale gardening is because it removes many of the traditional barriers to gardening.
You don’t need:
- Perfect soil
- Raised beds
- Large garden space
Instead, you’re using straw bales as both the container and the growing medium.
Once the bale is properly prepared, it becomes a nutrient-rich environment where plants can thrive.
That’s why the setup is so simple.
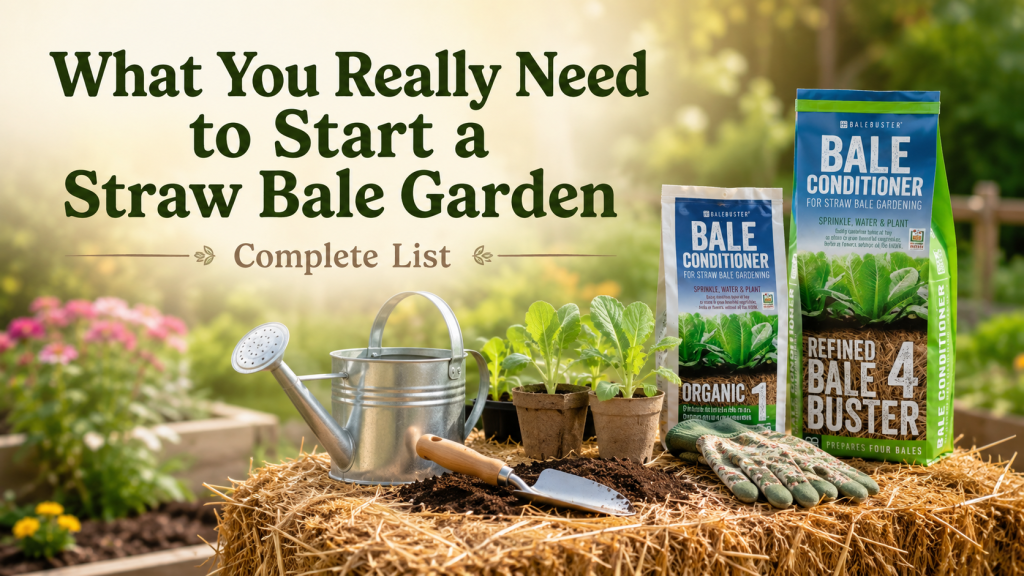
The Complete List: What You Really Need
Let’s break it down into 4 main categories:
- The base (your garden itself)
- The conditioning materials
- Basic tools
- Plants
1. Straw Bales (Your Garden Bed)
This is the foundation of everything.
Straw bales act as your “soil” and your planting bed.
What to look for:
- Straw (not hay)
- Tightly packed
- Dry and clean
- Bound with twine
Straw comes from crops like wheat, oats, or barley. Avoid hay because it contains seeds that can grow into weeds.
How many do you need?
- 1 bale = small starter garden
- 2–4 bales = beginner setup
- 5+ bales = larger garden
Start small if you’re new — you can always expand later.
2. Bale Conditioning Product
This is where most beginners get it wrong.
Before planting anything, your straw bale needs to go through a process called conditioning.
This process:
- Activates bacteria inside the bale
- Breaks down the straw
- Turns it into nutrient-rich growing material
Without proper conditioning, your plants will struggle.
What should you use?
Instead of guessing with random fertilizers, it’s best to use a product designed specifically for straw bale gardening.
A great example is BaleBuster starter kits, which are made to simplify the conditioning process.
For example:
- A single-bale option is perfect if you want to test the method
- A BaleBuster4 kit is ideal for beginners starting a small garden
- Larger kits are better if you’re working with multiple bales
These products:
- Remove guesswork
- Provide correct nutrients
- Help your bale break down faster
- Improve plant growth
If there’s one thing you shouldn’t skip, it’s this.
3. Water Source (Simple but Essential)
Straw bales need consistent moisture — especially during conditioning.
You don’t need anything fancy.
Options:
- Garden hose (best option)
- Watering can
- Drip irrigation (optional upgrade)
Water helps:
- Activate the conditioning process
- Move nutrients through the bale
- Keep plants hydrated
4. Basic Gardening Tools
You don’t need a full tool shed.
Just a few simple tools will do.
Essential tools:
- Hand trowel
- Gardening gloves
- Pruning shears
Optional tools:
- Trellis (for climbing plants)
- Stakes (for support)
That’s it.
Straw bale gardening removes the need for heavy tools like shovels or tillers.
5. Plants (What You’ll Grow)
Once your bales are conditioned, you can plant directly into them.
Best options for beginners:
- Tomatoes
- Peppers
- Lettuce
- Spinach
- Cucumbers
Seeds vs Seedlings:
- Seedlings (recommended for beginners) grow faster
- Seeds work well but take more time
6. Potting Mix (Small but Helpful)
While the bale becomes your main growing medium, a small amount of potting mix is useful.
Why you need it:
- Helps seedlings establish
- Supports seeds on the surface
- Adds extra nutrients at the start
You only need a small amount — not bags of soil.
Recommended Starter Setup (Simple Version)
If you want to keep it simple, here’s all you really need:
- 2–4 straw bales
- Bale conditioning product (like BaleBuster4)
- Water source
- Basic tools
- Seedlings
- Small amount of potting mix
That’s enough to get started and grow successfully.
Common Mistakes to Avoid
Skipping conditioning
This is the #1 reason straw bale gardens fail.
Using hay instead of straw
Hay contains seeds → weeds everywhere.
Overcomplicating the setup
You don’t need fancy tools or equipment.
Overwatering
More water doesn’t mean better results.
Do You Need a Starter Kit?
Technically, no.
But practically, yes — especially for beginners.
Starter kits make things easier because they:
- Provide the right conditioning materials
- Save time
- Remove guesswork
- Help you avoid mistakes
For most beginners, something like BaleBuster4 is the easiest way to start.
What You DON’T Need
Let’s clear this up.
You don’t need:
- Expensive raised beds
- Large garden space
- Perfect soil
- Heavy equipment
- Advanced gardening experience
That’s what makes straw bale gardening so powerful.
Final Thoughts
Starting a straw bale garden doesn’t require a long list of tools or complicated steps.
At its core, you only need:
- Straw bales
- Proper conditioning
- Water
- Plants
Everything else is optional.
If you focus on getting these basics right — especially conditioning — you’ll set yourself up for a successful growing season.
Get Started the Right Way
If you want to make things easier from the start, using a proper conditioning system is the smartest move.
Instead of guessing or experimenting, you can follow a proven process and get better results faster.
Explore starter kits and supplies designed specifically for straw bale gardening.
Start simple. Start right. And start growing.