
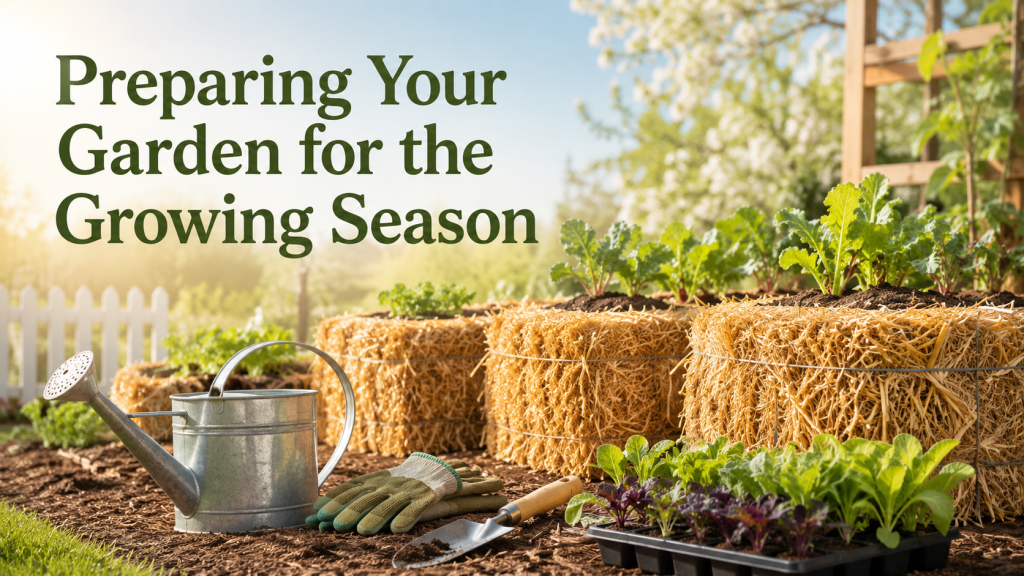
A strong straw bale garden does not begin when the first seedling goes into the bale.
It begins earlier, when you choose the right location, decide how many bales you want to grow in, buy the correct conditioning product, and give the bales enough time to prepare before planting.
That early preparation is what makes the growing season smoother.
Instead of rushing to buy plants, dragging bales into place at the last minute, or wondering which BaleBuster product you should have ordered, it is better to prepare your garden in stages. Straw bale gardening works because the bale becomes the growing container and, once the straw inside begins to decay, it becomes conditioned compost that creates a strong rooting environment. The Straw Bale Gardens site explains that conditioning is essential and should begin two weeks before the target planting date. (Straw Bale Gardens)
This guide will walk you through how to prepare your straw bale garden for the growing season, what to do first, and what to buy before planting begins.
Start With the Garden Plan, Not the Products
Before buying anything, decide what kind of growing season you want.
Are you testing the method with one bale?
Are you creating a small starter garden with four bales?
Are you preparing a larger garden with many bales?
This matters because your bale count affects everything else: the space you need, the amount of water required, the conditioning product to buy, and the number of plants you can realistically grow.
A one-bale garden is simple and easy to manage. It is a good way to learn the method without taking on too much.
A four-bale garden gives you more growing room and is usually a better fit for someone who wants a proper beginner setup.
A twenty-bale garden needs more planning, more space, and a stronger watering routine.
The mistake many gardeners make is buying supplies before they have counted their bales. Start with the garden size first. The product choice becomes much easier after that.
Choose the Right Location Before the Bales Arrive
Once straw bales are wet, conditioned, and in place, moving them becomes inconvenient.
So choose the location before you start.
Look for a space that gives your plants enough sunlight and makes watering easy. The BaleBuster1 product page notes that bales should be positioned in a sunny location and that the gardener provides the bale and water. That sounds simple, but it is one of the most important parts of the setup. (Straw Bale Garden Shop)
A good straw bale garden location should have:
- Good sunlight
- Easy access to water
- Enough walking space between bales
- A stable surface
- Room for plants to spread or climb
- Space for tools, watering, and harvesting
You can grow on soil, lawn, patio, driveway, or other usable outdoor spaces. One of the advantages of straw bale gardening is that you are not depending on perfect soil. The bale becomes the growing environment.
Source Your Straw Bales Early
Straw bales are usually best bought locally because they are bulky and easier to inspect in person.
Look for them at farms, feed stores, farm supply stores, garden centers, or local agricultural suppliers.
Buy straw, not hay, when possible. Hay may contain more seeds and can create weed issues. Straw is usually cleaner for this method.
When checking bales, look for bales that are:
- Dry
- Firm
- Tied securely
- Not falling apart
- Easy enough to place where you want them
Do not wait until planting week to find bales. If local supply is limited, you may end up taking whatever is available instead of choosing good bales.
This is one of the cheapest and smartest things you can do before the season begins: secure the bales early, place them correctly, and avoid rushing.
Match BaleBuster to Your Bale Count
After choosing your bale count, pick the BaleBuster product that matches your setup.
This is where the buying decision should be practical, not emotional.
If you are preparing one bale, BaleBuster1 is the one-bale package. The shop lists it as a 100% organic bale conditioning formula packaged in the right quantity for one bale. (Straw Bale Garden Shop)
If you are preparing a four-bale starter garden, BaleBuster4 is the better fit. The shop describes BaleBuster4 as a formulation for conditioning four average-size bales. (Straw Bale Garden Shop)
If you are preparing a larger garden, BaleBuster20 is the larger option. The shop lists it as a twenty-bale box with a traditional NPK formulation. (Straw Bale Garden Shop)
The simplest buying rule is:
- One bale: BaleBuster1
- Four bales: BaleBuster4
- Twenty bales: BaleBuster20
If your garden falls between those sizes, combine products based on the number of bales you are preparing.
For example, a twenty-four-bale garden may need BaleBuster20 plus BaleBuster4.
Build Your Watering Plan Before Conditioning Starts
Water is not something to figure out later.
It is part of the conditioning process.
During conditioning, water helps move the nutrients into the bale and supports the bacteria that begin breaking down the straw. If the bales dry out repeatedly, the process can slow down. If they are too wet, the bales may become poorly balanced.
For one bale, a watering can may work.
For four bales, a hose is more convenient.
For twenty bales, you need a more reliable watering plan before the season starts.
Do not place bales far from water unless you are prepared to carry water regularly. That may seem manageable for one day, but it becomes frustrating when the garden needs consistent moisture.
A good water plan should answer:
- Where is the nearest water source?
- Will I use a hose or watering can?
- Can I reach every bale easily?
- Will I water in the morning, evening, or both when needed?
- Can someone else water if I am away?
This is not the most exciting part of gardening, but it is one of the parts that keeps the season from becoming stressful.
Start Conditioning at the Right Time
The best time to begin conditioning is before planting day, not on planting day.
The Straw Bale Gardens homepage states that conditioning should begin two weeks before the target planting date wherever the gardener is located. (Straw Bale Gardens)
That gives the bale time to begin changing inside before plants are added.
Temperature also matters. When the air is cooler, bacteria grow more slowly. Joel explains that bales may be planted after 12 days of conditioning when the temperature is over 45°F, while organic treatment may take 18 days. He also says that if colder days occur, gardeners should add a few more days to the conditioning period. (Straw Bale Gardens)
So the timing should not be treated like a rigid calendar for everyone.
Use the timing as a guide, then adjust based on your weather.
If your spring is cold, start earlier.
If your weather is warm and steady, the process may move faster.
Decide What You Will Plant Before Buying Seedlings
Do not buy plants before the bales are close to ready.
Seedlings can sit too long in small pots if you buy them too early. They can become stressed before they ever reach the garden.
A better approach is to decide what you want to grow first, then buy seeds or seedlings closer to planting time.
Good beginner crops often include vegetables, herbs, and flowers suitable for bale growing. The BaleBuster4 product page specifically mentions vegetables, herbs, and flowers as planting uses for conditioned bales. (Straw Bale Garden Shop)
Before buying seedlings, think about:
- How many bales you have
- How much room each crop needs
- Whether plants need support
- Whether you want herbs, vegetables, or flowers
- Whether you are planting for beauty, food, or both
Planning your plants early prevents overcrowding later.
Prepare Your Tools, But Keep It Simple
Straw bale gardening does not require a shed full of tools.
That is part of the appeal.
You do not need to till soil, dig garden beds, or build raised bed frames. The Straw Bale Gardens homepage highlights benefits such as no digging, no tilling, fewer weeds, and better drainage. (Straw Bale Gardens)
For most home gardeners, the basic tool list is enough:
- Garden hose or watering can
- Gloves
- Hand trowel
- Pruning shears
- Plant supports if needed
- Garden labels if planting multiple crops
If you are new, do not overspend on tools before your first season.
Spend on what supports the method: bales, conditioning, water access, and learning.
Use a Guide If This Is Your First Season
If this is your first straw bale garden, a guide can save you from trial-and-error mistakes.
The BaleBuster4 Starter Kit includes BaleBuster4 and Straw Bale Gardens Complete. The shop describes the book as a complete guide to Joel’s method and says the method must be done following a specific process in order to succeed. (Straw Bale Garden Shop)
This is important for beginners because the product is only part of the process. You still need to understand:
- When to start
- How to condition
- What to expect from the bales
- When to plant
- How to water
- What signs show the garden is progressing
A starter kit is a good option if you want the four-bale product and the method explained together.
The shop also lists the Straw Bale Gardening booklet by Joel Karsten as a separate learning resource for people who want to understand the basics before starting. (Straw Bale Garden Shop)
A Better Pre-Season Setup Checklist
Here is a practical checklist you can use before the growing season begins.
Garden Planning
- Decide how many bales you want to prepare.
- Choose the garden location.
- Check sunlight and water access.
- Decide whether you are growing vegetables, herbs, flowers, or a mix.
Buying Supplies
- Buy straw bales locally.
- Choose BaleBuster1, BaleBuster4, or BaleBuster20 based on bale count.
- Add a guide or starter kit if you are new.
- Prepare gloves, trowel, hose, and plant supports.
Conditioning Preparation
- Place the bales where they will stay.
- Begin conditioning two weeks before your target planting date.
- Add extra time if the weather is cold.
- Do not buy seedlings too early.
Planting Preparation
- Check that the bales have completed the conditioning period.
- Choose plants that match your bale layout.
- Plant when the weather and bales are ready.
- Keep watering consistent after planting.
This checklist makes the season easier because every step has a clear order.
What Not to Do Before the Season Starts
Sometimes preparation is about avoiding the wrong things.
Do not buy BaleBuster before deciding how many bales you are using.
Do not buy seedlings before conditioning is underway.
Do not place bales somewhere that is hard to water.
Do not treat every climate the same.
Do not assume a fresh bale is ready for planting.
Do not buy random fertilizer if your goal is to follow the Straw Bale Gardens method.
The education site explains that BaleBuster is specifically designed and formulated for Straw Bale Gardens, which is useful to remember if you want to avoid experimenting with unrelated products. (Straw Bale Gardens)
Product Path Based on Your Garden Size
Here is the easiest way to choose what to buy.
For a one-bale test garden, start with BaleBuster1.
For a small starter garden, choose BaleBuster4.
For a four-bale setup with extra guidance, choose the BaleBuster4 Starter Kit.
For a larger twenty-bale garden, choose BaleBuster20.
For basic learning before you buy, start with the Straw Bale Gardening booklet by Joel Karsten.
This keeps the buying process simple and tied to the actual garden plan.
Final Thoughts
Preparing your garden for the growing season is not about buying everything at once.
It is about buying the right things in the right order.
Start with the location.
Count your bales.
Choose the right BaleBuster product.
Prepare your water source.
Begin conditioning before planting.
Buy seedlings when the bales are close to ready.
If you are new, use Joel’s book, booklet, or a starter kit so you understand the method before the season begins.
The strongest straw bale gardens are not rushed into place. They are prepared.
When the bales are conditioned properly and the setup is ready, planting becomes easier, the garden becomes more manageable, and the growing season starts with far less confusion.